Karen writes about life as a Quiltmaker in Austin, Texas; surviving in an empty nest, marriage, cooking, gardening and (did I say?) Quilting...

Wednesday, June 22, 2011

A Good Quilt - That "Finished!" feeling...


"Log Cabin for a Friend"
 One of the best days a quilter has is always the day the quilt is finally finished. It's a day for pictures (for posterity mainly, but also to jog the aging memory down the road!), and also for reflection.

To that end, I'll post several pictures, and share a bit of my thought and work process on this quilt. It started as a means of using up some scraps, and a bit of a guilty feeling that I have not used some new tools bought at last year's Quilt Festival.  I also wanted to make a longtime personal and family friend, who's visited with us in the fall.

I've always wanted to do a log cabin based quilt, and My new year's resolution this year was to hone some skills and try to make a dent in the huge collection of scraps from years gone by and that regretful purchase some years back of a defunct long arm business' scraps (what  a mess - and another story).

A friend staying with us began the genesis of the desire to make a quilt for a gentleman... and so it began. He was allowed color choices, and he favors blue and tan/browns. And, since I like Reds, the red in the cabin centers and borders were a must. Let the quilt begin!

I used Marti Michell's Log Cabin Ruler and highly recommend it. Her book, Log Cabin ABC's was my source for technique. The "logs" are 1" which required 1-1/2 inch strips. Cut lengthwise, and cut to fit. This meticulous method really results in a flat, straight quilt. This sort of thing appeals to my occasional need for precision and control...something which I'm sure I must have inherited from my father - a meticulous Sign Painter. You haven't see precision until you've watch someone hand paint and gold leaf a name on a door... that today would rival something laser cut! I also think I was looking for a bit of control during a time of a bit of personal chaos... a quilt with lots of small pieces, requiring precision seemed just the Rx for the times.


The Quilting Begins

The piecing, 48 squares, with 15 strips each resulted in 720 pieces. Starting before Christmas, it took almost a month of evenings to piece, I originally was working towards at least 64 (8x8) blocks, but the routine nature of the project wore me out... and I decided on a timeless quilter's solution  - the replacement of  another round of blocks with a nice large border - the better to frame those lovely blocks - right!?

Several AAQG Workshops in this spring inspired my finishing: A Day long workshop with  Sharon Schamber got me thinking about how to add quilted feathers to the quilting design. I went into her workshop thinking to do a feathered border, and simply walking foot the blocks. Surprisingly, I came out of the workshop inspired to do something completely different: The blocks are quilted in free motion feathers, with the border done in an all over grid. Only the spines of the feathers were marked, with the feathers themselves entirely freehanded. The strips are used as a guide for each. It went fairly quickly. The grid posed other problems though. I decided to bury threads, and spent almost as much time hiding those ends as it took to do all the quilting! Next time I will do as Sharon advised, and just get it over during the quilting rather than waiting til the end.

Corner Detail
I was very happy with how easy the quilting went though, and how great it turned out. My Viking MegaQuilter performed perfectly.  I am soo happy with this machine as my go to quilter. Yes, I miss "red" my 1929's Singer 31-15, but she was just too temperamental to continue using. What is sad is that Viking had discontinued production of this model. I hope they aren't deserting the quilting machine market. Perhaps they'll just replace it with something better!


Finishing the Binding off with Piping and Blanket Stitch!

A workshop with Susan Cleveland on her great finishing techniques resulted in a tiny blue piped edge and a really, REALLY nice binding. I also used one of Sharon Schambers tricks: the use of  Elmer's WASHABLE School Glue to temporarily hold the binding in place on the back while I used a decorative blanket stitch on the front using my Designer Diamond. Using a tiny bead of glue and ironing the binding to the back provides  much better hold than using pins. It's virtually impossible to keep thing straight. Every time you pull a pin out, you get a tiny wobble... The "edge joining foot" kept everything in the right place as I sewed a blanket stitch from the front.  How's it look?

I decided to back the quilt with some appropriate odds and ends from my stash, with the musical fabric by Alexander Henry and the cherry prints "Life's a Bowl...." a nice bit of symbolism for my friend who loves music and life! My longtime friend, Russ Barnes will get his quilt AFTER I do the July AAQG July Show and Tell!
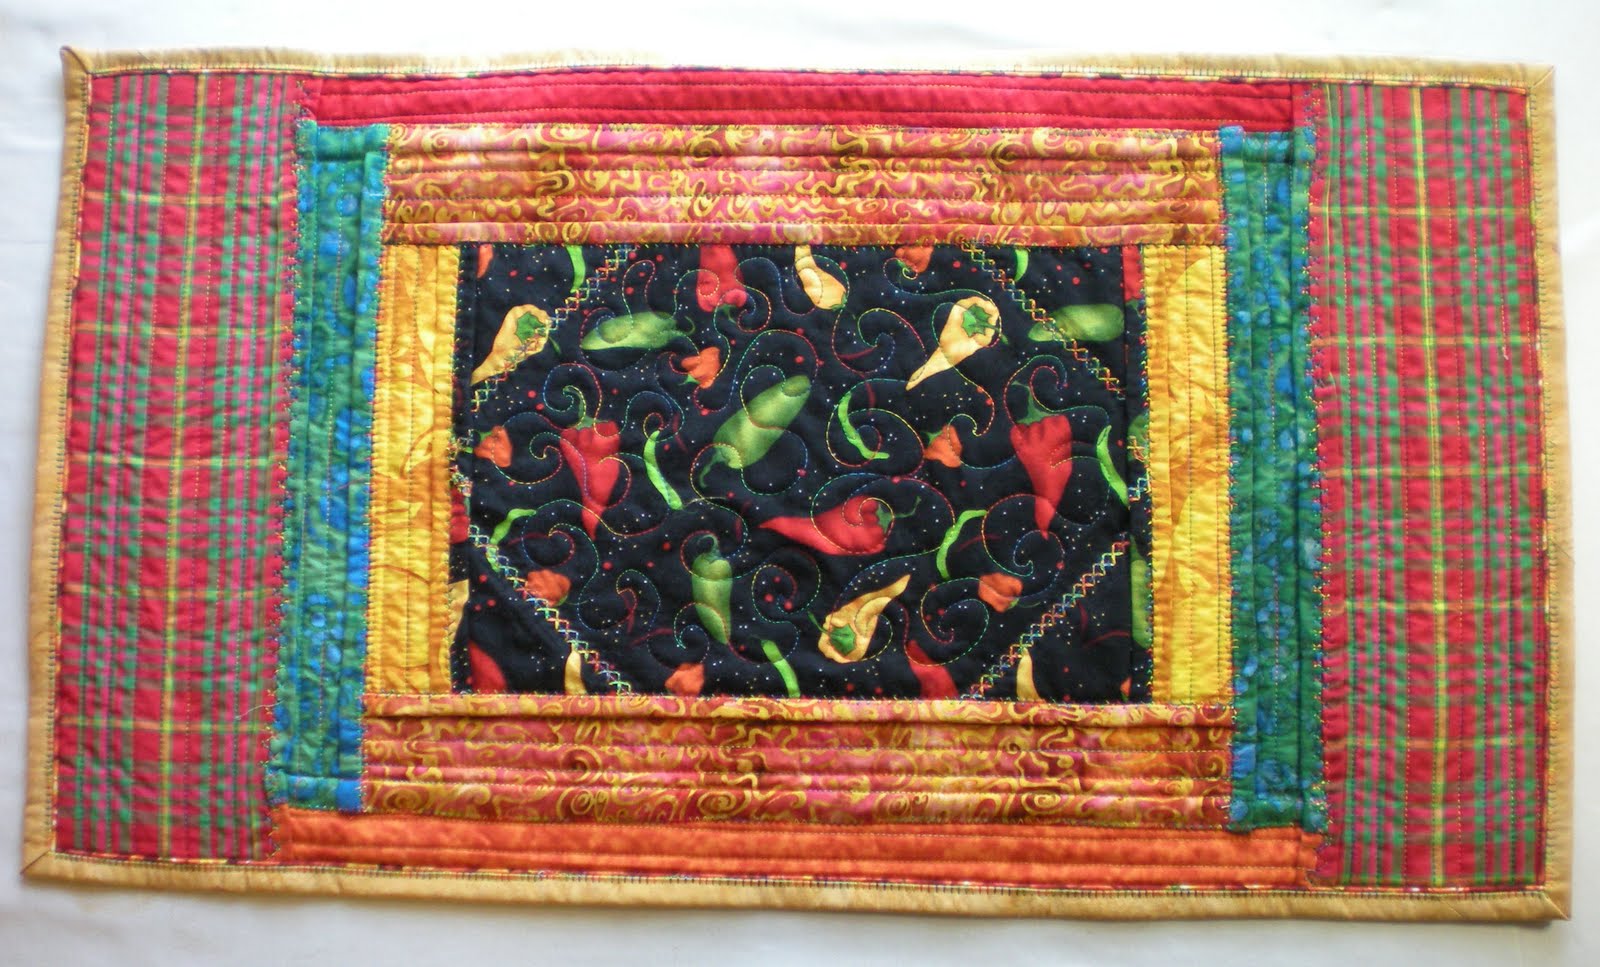
Back side of "Log Cabin for a Friend"
Label - A spare block, Machine Embroidered.
Feather Quilting Detail: Back
There must be a joke for quilter's about
 the "Two Best Days"... and one of them certainly is the day you finish a quilt... I'll think the other day is the day you see it hangin' in Houston. I'm happy to know both those feelings!   - Karen

Sunday, May 15, 2011

Learning a "New" Thing or Two: Cotton Theory and a Good Teacher

I had the great pleasure to attend Austin Area Quilt Guild's "Gift of Quilting" workshops on Friday evening. Unfortunately, I only was able to extricate myself from a single day's work to attend. This wonderful two day event is put on every other year - in between "Show" years. The idea is to provide member-taught workshops, as a reward to volunteers (and members) who work so hard to make the biennial Quilt Show happen.

The workshop I signed up for was a 3 hour reversible quilted Table Topper, made using the Cotton Theory technique. Offered by veteran sewing and quilting teacher Nancy Voegele, I was hoping to not only pick some new quilting skills, but also to see an expert in action.  I was not dissapointed.
Here's my finished piece:

Table Topper: Dinner "Side"

Table Topper: "Breakfast" Side
The project entailed creating a reversible table quilt, the completed size is 15" x 26.5" wide. The technique is very unusual. The individual patchwork pieces are layered, front to back with quilting in between, then quilted, and combined in a most unusual way. Entire quilts can be constructed in this way, with the quilting done in concert with the piecing - eliminating the need to layer and piece the entire quilt - a difficult prospect for many quilters.

So, if you are having difficulty quilting a large quilt, this may be a great way to complete a quilt with just any resonably good quality Sewing Machine.

Another fun aspect to the technique is that it allows you the fun of using those often ignored decorative stitches to provide further embellishment as part of the assembly technique. I used several of the mock "hand embroidery" stitches in the construction process. I also used some of my new found piping skills (from my workshop in March with Susan Cleveland ) to add a small corded piping edgeing to the binding, To further gild the rose, I embellished the binding with a varigated blanket stitch...

 I am VERY happy with the way "DD" performed in this somewhat tricky maneuver.  I used the "blind hem" foot - which rode smoothly over the uneven piped edge with ease. The piping foot handled that chore wonderfully too!  If you've always wondered what those special feet can do for you, this project provided me with pretty compelling proof that the foot makes the difference in stitch quality. Here's a close up of those embellishments:
Decorative Stitch and Quilting Detail


Piped edge and blanket stitched binding - how about those corners?!
I give a big thumbs up to teacher Nancy Voegele, who really kept the class moving along (inspite of one totally unprepared student!). She handled the situation with grace and actually had at least one finished, ready to bind quilt done by a student. I had to add the final two parts to mine - so felt like I really did well in class.  Nancy teaches at a number of locations around Austin, including that cool new hip sewing lounge, Stitch Lab.

I was REALLY happy to have a completed project today - I am so close on several projects, including one full size quilt - stay tuned for an update as they get finished!

- Keep on Quilting...
- Karen

Thursday, February 17, 2011

It's Fashion Week...

http://thesartorialist.blogspot.com/

A wonderful Blog... scroll down a bit to see the bit about Bill Cunningham. I've gotta get that documentary!  Fashion - it's something we live with, and see every day.

"We're all blank canvases when we get up in the morning and we paint ourselves."

"Fashion is the armour, to survive the reality of everyday life..."

An interesting view of the world far from the those of us out here in the "hinterlands"...

Sunday, January 16, 2011

Winter Day Piecing

It's one of those days. Even in Austin we will see some dreary, cold (er, well cool - in the 50's!), cloudy and wet days - now the third in as many days. And, to really improve upon the mood, a cold - the sort that makes one want to stay in bed, pull the covers up, and hope for a better day tomorrow.

But, I get up anyway, and start the day with a good breakfast, mainly to spend a few civil minutes with my partner - though we quickly part into our own methods of dealing with the depressive weather and lingering congestion and coughs. He to make a pot of some sort of simmering stew, me to work on some mindless piecing.


A few months back I embarked on cutting up the last of several large bags (giant garbage bag size) of scraps into 1-1/2 inch strips. The idea was to make up a nice basket of scraps to use in the creation of truly scrappy versions of "Trash to Treasure Pineapple  Quilt" blocks. This block design, by Gyleen Fitzgerald (Gyleen's Colourful Stitches Web Site) is a great way to use up those pesky 4" of so strips of fabric left over from finished tops. Gyleen designed a great ruler to make the task go fast, and has a nice book that get's right to the point - with clear illustrations and inspiration!
I still had a good quantity of these strips left over from my purchase some years ago of a going-out-of-business long arm quilter's scrap bags and fabrics.  So it was easy to convert it all to 1-1/2 inch strips for pineapple blocks!
So, the day is going well... I'm taking a break to share my method for coping with a dreary winter day off...

The cockpit - stocked for a rainy day sew-in...

Here's the cockpit - (yes, that Is a NEW machine at the dashboard - the Topaz got traded up to a Designer Diamond!), the basket of scraps it at my feet, with a nice cutting area to the left for trims.  While it may look crowded, there's plenty of room for work, with both the table the machine rests on and the table to the right covered with cutting board mats. The serger fits perfectly to my right when I need it, or I can set up an ironing station there temporarily. Today I was to lazy for that, so am using the big board, which is against the window to my back...


"Necessaries" for optimum creative results!

To the right - other necessities! Chocolate, hot tea, and completed blocks for inspiration.  Not pictured: a small space heater to chase away chills... my sewing room faces south, but my windows are the best in the house, and it always seems drafty in the cold weather!

Pile O' Scraps!
Note the basket of scraps...


So, I'm set for a good day of piecing. Hope you get some sewing fun in today!
Keep WARM!
- Karen

Thursday, January 06, 2011

One UFO Down! Working the "List"...and those "Resolutions"...

How many of us have a list of Unfinished Quilts (also known as UFO's  unfinished objects)? 
Each year, I find myself reviewing my UFO list, with mixed emotions...

The feeling of satisfaction is so very great as I strike a finish project off the list - not only finished, but gifted to the recipient. This time, My oldest niece, Ginger, received her quilt, the first, (I hope) of one for each of my 7 nieces and nephews. I felt like I really needed to make a quilt at least for family members... and so embarked on working on these quilts. She was thrilled, and, I'm sure had forgotten my question to her long ago... "What is your favorite color?".

Lavender Dance - DONE!
The answer, "purple" resulted in "Lavender Dance" a swirl of purple scraps that turned out quite nice, if I do say so myself! I showed it at the Fall 2010 quilt show in Austin, and if sure looked great on the wall... h

However - reviewing that list always causes me to look at all those yet to be finished, and inevitably to add new quilts to the list!

I keep the list handy, in my datebook, which, though in writing, is fairly well hidden at the back of the book... I decided to move it forward, placing it at the front... the better to see it each time i use the date book.
I've found that, since I'm no longer involved in managing a business, with crucial deadlines, I have not been using the book daily - something I resign to get back to this year - so let's see if 2011 can be the year I get more quilts done.

Next up for Hand Quilting: "Kodachrome Dresden"
Here's a peek at a project that is one of my earliest piecing projects - something I've really been wanting to hand quilt - which will mean the big frame will need to find living space in the house... more on that later!  (Sorry about that photo... I'll try to spiff that up... ). Working title is "Kodachrome Dresden", the fabrics are all colorful tiny calicos - those lovely prints from the 80's that are getting pretty hard to find. Each "plate" has colors arranged a la color wheel... I plan to quilt a coordinating "plate" across the 1 inch sashing in between each plate...and, while there was a lot of machine work here, the plates were hand appliqued into place! I remember I was quite proud of myself when I finished the top. It will hand quilt easily with so few seams.

On the machine now, is the blue and tan log cabin- basted and ready for quilting for R. Barnes!

2011 is sure to be a busy quilting year - Here's hoping you too have a "Pieceful" 2011...

- Karen